
Are you tired of your golf cart slowing down and losing power unexpectedly? It’s frustrating when you’re ready to hit the fairway, only to find your trusty ride struggling to keep up. Here’s a secret: the culprit might not be your batteries but the charger.
Since the only power source for golf carts is a pack of batteries, ensuring they receive a proper charge is vital for optimal performance. A faulty charger can result in incomplete charging, leaving your golf cart struggling to run.
This article will discuss how to test a golf cart battery charger like a pro. By the end of this guide, you’ll have the knowledge and confidence to determine if your charger is up to the task or if it’s time for a replacement. So, let’s dive in.
Golf Cart Battery Chargers
Before we begin the testing process, it’s essential to understand how a golf cart battery charger works. A golf cart battery charger consists of two parts: the transformer and the rectifier.
The transformer converts the 120-volt AC power from the electrical outlet to a lower voltage, which the battery can handle.
The rectifier converts the AC voltage to DC voltage, which the battery can store.
Is My Battery or Charger Malfunctioning?
How will you know the golf cart battery charger is at fault, not the batteries? It can be confusing for new golf owners. Luckily, some telltale signs can help you identify which component is malfunctioning. These include:
Signs of a battery problem:
- The battery doesn’t hold a charge for a very long
- The golf cart moves slowly, even with a fully charged battery
- The battery feels hot to the touch after charging
- The battery emits a sulfurous odor
- Battery making noise when charging
Signs of a charger problem:
- The charger doesn’t turn on or start charging the battery
- The charger takes a long time to charge the battery fully
- The charger feels hot to the touch during use
- The charger emits a burning smell
Why Should You Test Golf Cart Battery Charger?
Golf cart battery chargers are built to last many years without needing upgrades or replacement. However, these chargers may malfunction over time due to mechanical deterioration, just like any electrical device.
Therefore, testing the golf cart battery charger is a good idea. You can perform the test whenever you find charging problems. Generally, it is recommended to do this once a year.
Troubleshooting golf cart battery charger has many benefits, including:
- Batteries are charged to the full extent
- Enhances batteries performance and lifespan
- Identify the electrical issues in time
Better to have a proactive approach and perform the testing ASAP.
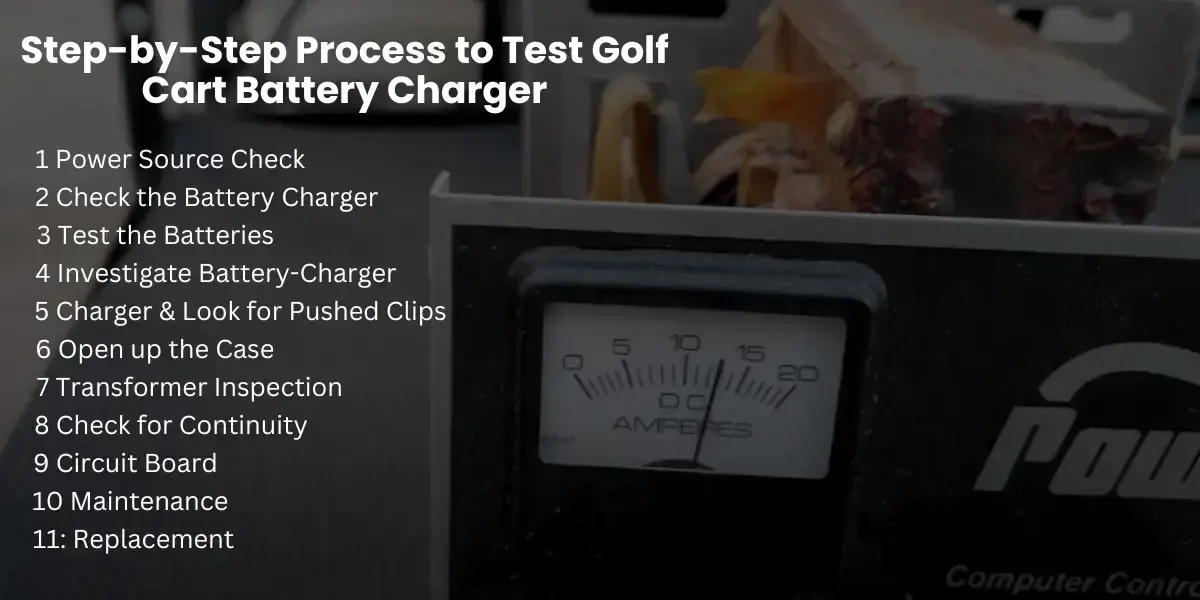
Step-by-Step Process to Test Golf Cart Battery Charger
If you have a 36/48 Volt Club Car battery charger or an E-Z-GO charger, there isn’t much difference between them. So, the testing process almost remains the same.
Here are the simple steps for testing a 36V or 48V golf cart battery charger:
Step-1 Power Source Check
First, you should ensure that the charger is getting the power from the source. Check the outlet, the extension cord (if applicable), and the circuit breaker or fuse box.
If any of these elements are not functioning properly, it could prevent the charger from working correctly. Also, be aware that some chargers have an automatic shut-off feature triggered by power surges or outages, which may require a reset.
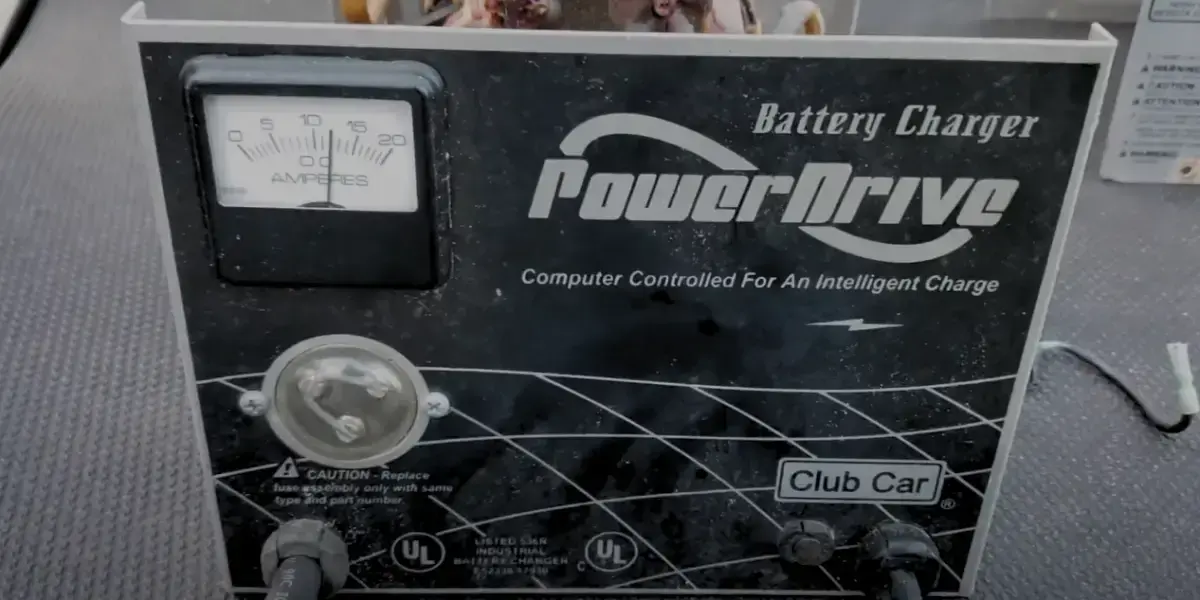
Step-2 Check the Battery Charger
After confirming that charger is receiving power, the next step is to measure the charger’s voltage. For this, connect a voltmeter with the positive and negative clamps of the charger. Turn on the charger once it is connected to the voltmeter. Typically, the amperage output of a 36-volt golf cart battery charger is around 10-25 amps.
Step-3 Test the Batteries
As you may know, an automatic golf cart battery charger needs some working voltage. If your battery doesn’t have a minimum voltage of 20-35 volts, the charger won’t be able to kick on. Make sure that the golf cart batteries are either full or have the minimum required voltage to test the charger.
Step-4 Investigate Battery-Charger Connection
An uninterrupted power flow between the charger and battery is essential for optimal charging. Inspect all cart receptacles, wiring, and charging cables.
When battery wiring is incorrect, there can be poor or no charging. Look for the wiring diagram in the manufacturer’s guide and ensure every cable is correctly wired. Typically, a golf cart has 6-8 batteries (depending on the volt system of the cart) connected in series or parallel.
Corrosion causes a loose connection between the battery’s terminals and charger. Remove rust and corrosion from the battery terminals to stabilize the connections.
Step-5 Unplug the Charger & Look for Pushed Clips
Always unplug the charger from the cart and wall outlet to be safe. Now look inside the charger to check whether metal clips are pushed in. Pull the clips back with a hairpin or needle-nose pliers if these are pressed in.
Step-6 Open up the Case
If you are still having problems with the charger, it’s time to open up the charger case (if possible) and look for any blown fuses, loose wires, or corroded terminals. Use a multimeter or voltage tester to check the voltage output of the charger, which should match the manufacturer’s specifications.
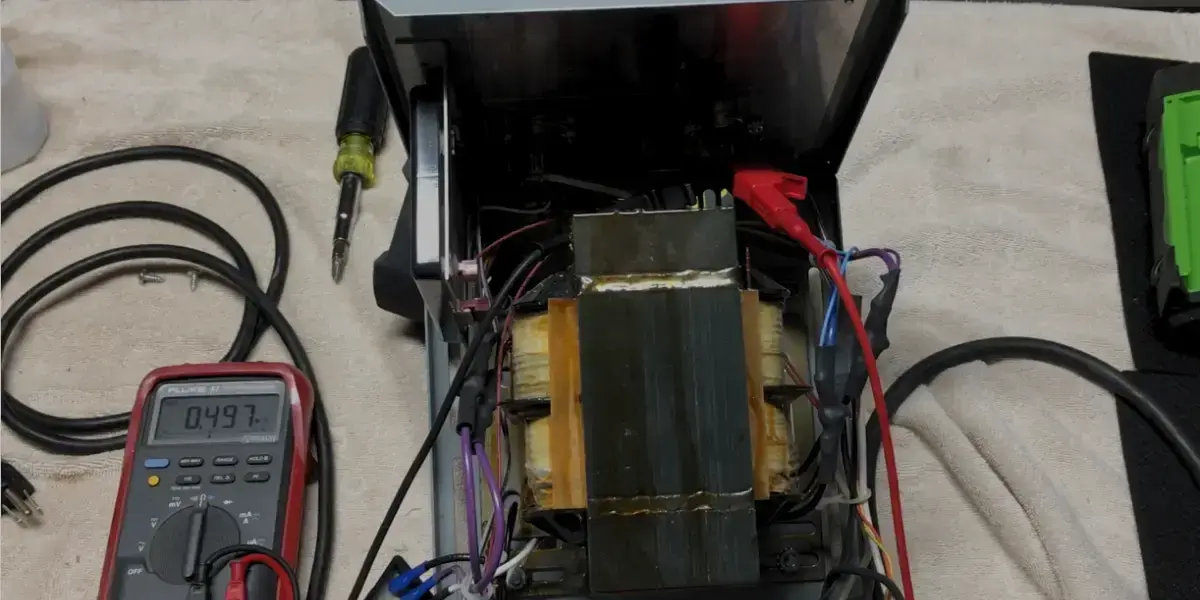
Step-7 Transformer Wire Inspection
Check the transformer in your golf cart charger. Use a multimeter to test the transformer’s primary and secondary coils. If you find any issues with the transformer, it will need to be replaced.
Step-8 Check for Continuity
Remove the charger cover and use a multimeter to check for continuity to test the diodes. Touch one probe of the multimeter to the diode and the other probe to the transformer wire part.
If the reading is positive or no-reading at all for both positions, then the diodes are faulty. On the other hand, if only one reading is positive, the diodes are working perfectly, as these have one why continuity.
Replace bad diodes inside the golf cart charger. You can buy them online or at a nearby automotive supplier.
Step- 9 Examine the Circuit of the Charger
While you are inside the charger, check the circuit board for any visible damage, such as corrosion, melting, burning, and other signs. The number of circuit boards may vary depending on the charger models. If the board is bad, you will see the clear signs mentioned above. Replacing them can help you fix your charger.
Step-10 Clean and Maintain the Charger
If everything looks good so far, then try cleaning and maintaining the charger. The charger components can accumulate dust, dirt, and other debris over time, which can interfere with the charging process.
Make sure to clean off any buildup from the charger’s case, cords, and cables with a soft cloth or brush. Compressed air can also be used to blow away dirt and debris.
Additionally, you should regularly inspect the charger for signs of wear or damage and replace any faulty parts as necessary.
Step 11: Consider a Replacement Charger
Upon failing to resolve the issue, it may be time to consider a replacement charger. Before you make a purchase, however, make sure you have the right specifications for your golf cart’s battery.
You’ll need to know the battery voltage, amp-hour capacity, and connector type. You can find this information in your golf cart manual or by contacting the manufacturer.
Consider a charger with advanced features, such as faster charging times or smart charging technology, which can extend the life of your battery and save you money in the long run.
What Should My Golf Cart Charger Read When Fully Charged
When your golf cart charger is fully charged, it should read a voltage that is slightly higher than the voltage of the golf cart’s battery bank. The exact voltage reading will depend on the type of golf cart and the voltage of the battery bank.
In general, most golf cart batteries are either 6 volts, 8 volts, or 12 volts. A fully charged battery should show a voltage reading of approximately 12.72 volts (for a 12-volt battery).
Conclusion
Testing your golf cart battery charger is an essential part of maintaining your golf cart’s battery life. By following the step-by-step process outlined in this article, you can quickly determine if your charger is working correctly or if it needs to be replaced.
FAQs
What happens if I don’t test my golf cart battery charger?
If you don’t test your golf cart battery charger, you may be unaware of any issues with the charger, which could lead to problems down the line. A faulty charger could damage your battery, reduce its lifespan, or even cause a fire hazard.
How often should I test my golf cart battery charger?
It’s recommended to test your golf cart battery charger at least once a month to ensure it’s working correctly.
Can I use a regular multimeter to test my golf cart battery charger?
Yes, you can use a regular multimeter to test your golf cart battery charger. However, you should make sure the multimeter can measure both DC voltage and amperage.